- Login into the AWS console / create an Amazon S3 Cloud Objective Storage account here with your IAM user ID or Root User Email: https://aws.amazon.com/s3/
- Note: AWS may require you to have a 2 Factor Authentication method when creating an account. You can download Google Auth or similar to satisfy this account creation requirement
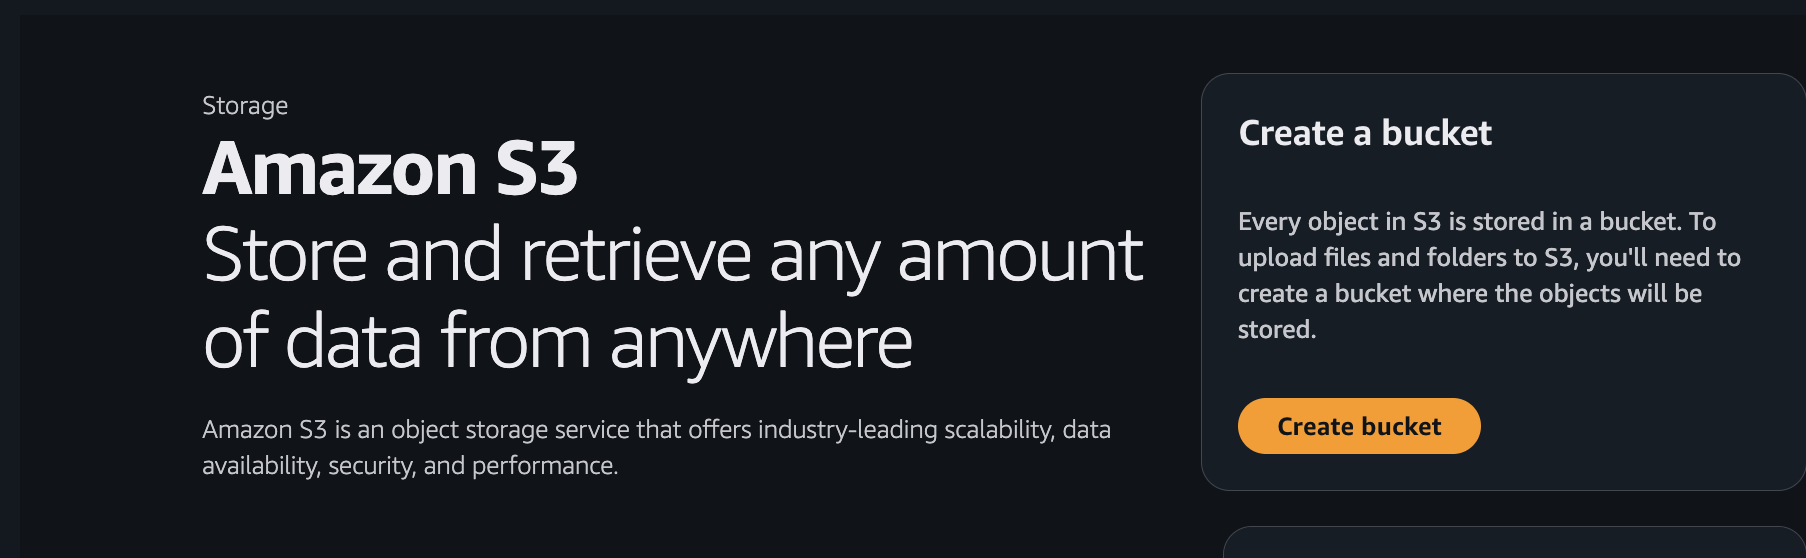
- After you have successfully signed into your account, naviagete to Amazon S3
-
Click the Create bucket button:
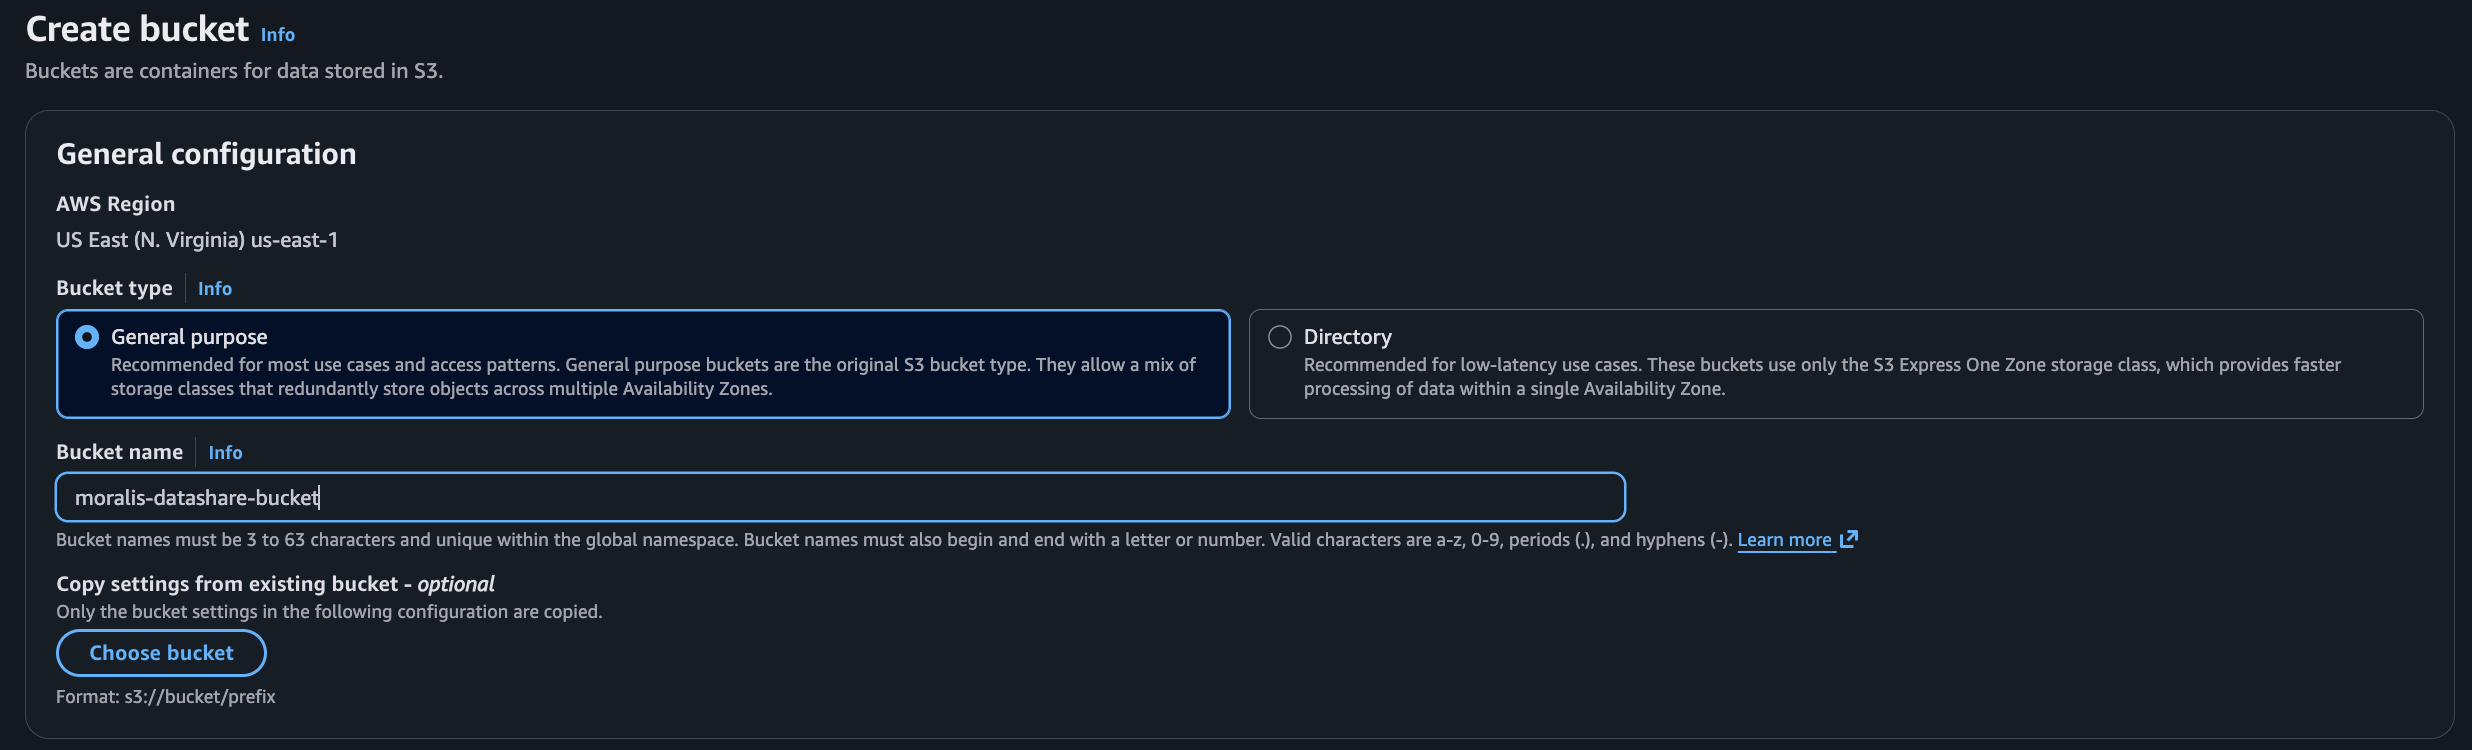
- When configuring the storage bucket follow these setup steps below:
- General configuration = General Purpose
- Bucket name = anything you want, example: “moralis-datashare-bucket”
-
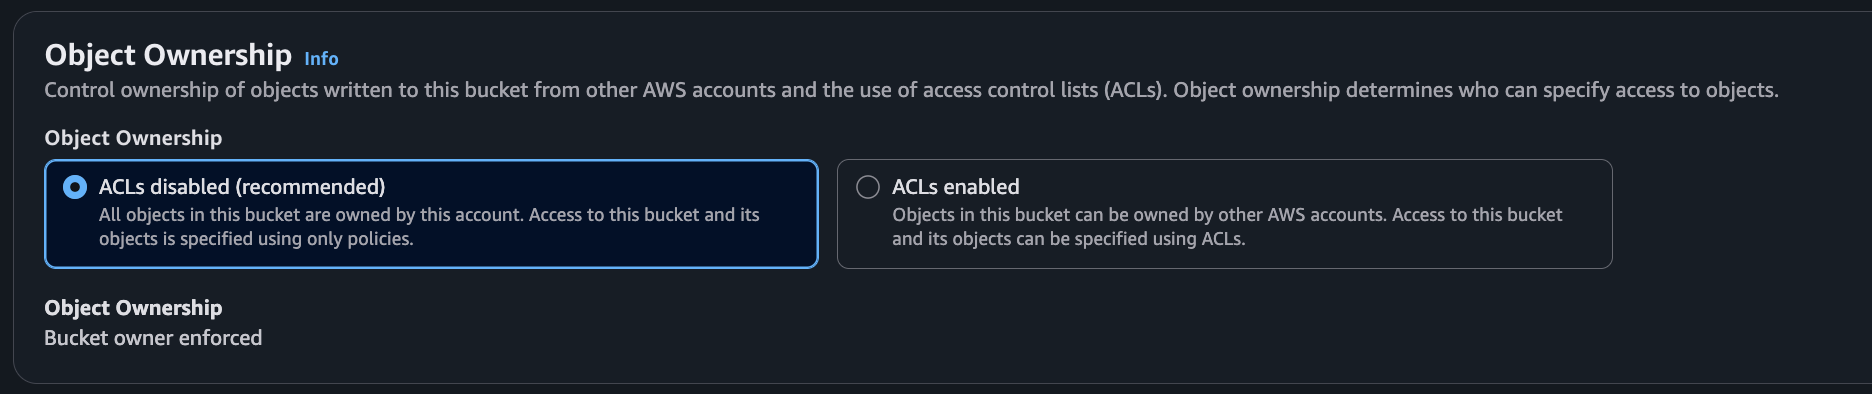
Objective Ownership = ACLs disabled (recommended)
-
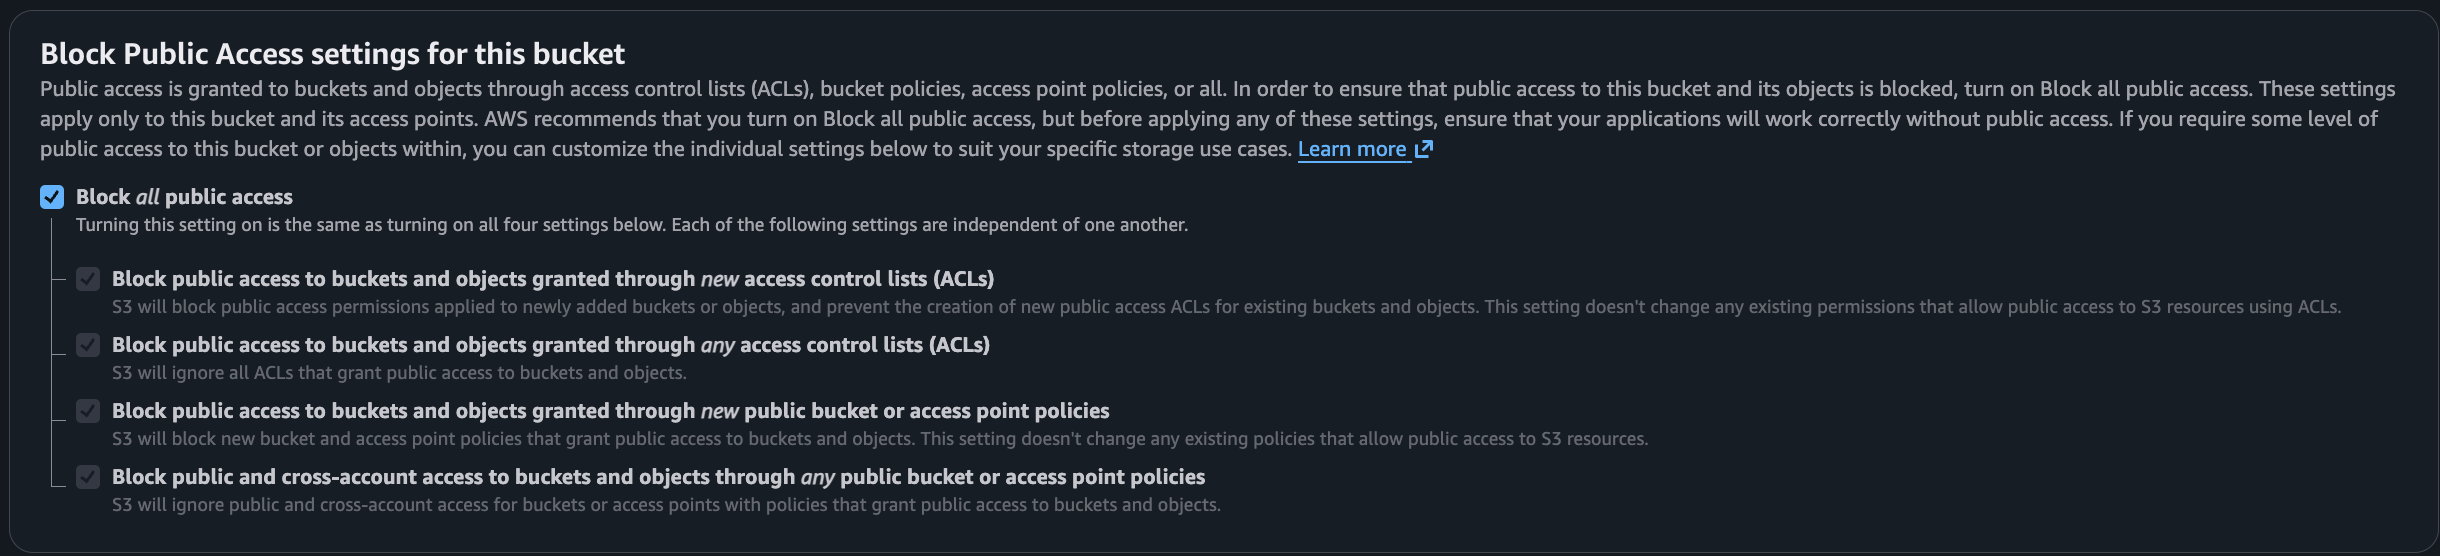
Block Public Access settings for this bucket = True
-
Bucket Versioning = Disabled

- Tags are optional. Skip or include tags.
-
Default encryption = Keep SSE-S3 selected and Enable Bucket Key
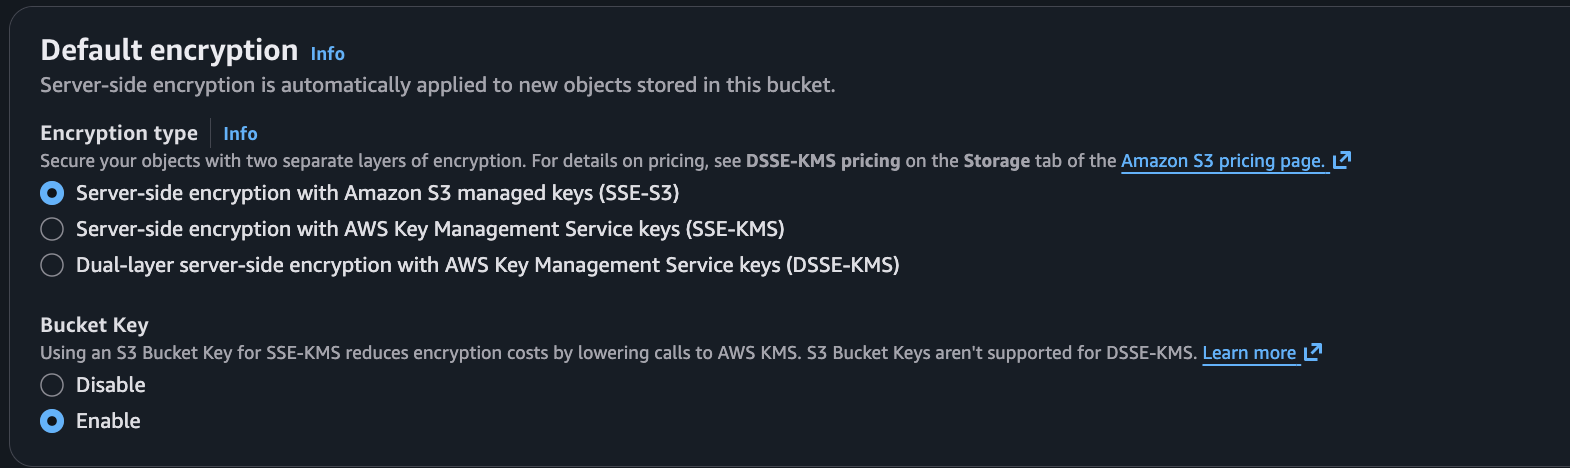
- Click Create Bucket
-
In the Searchbar type “IAM” and select “IAM Manage access to AWS resources”
- You will be brought to the IAM Dashboard if you are logged in.

-
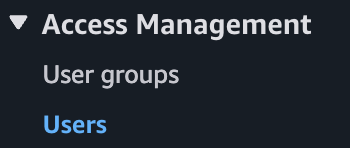
On the left sidebar under Access Management, click “Users”
-
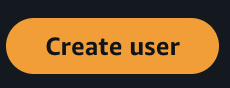
Click the “Create user” button.
-
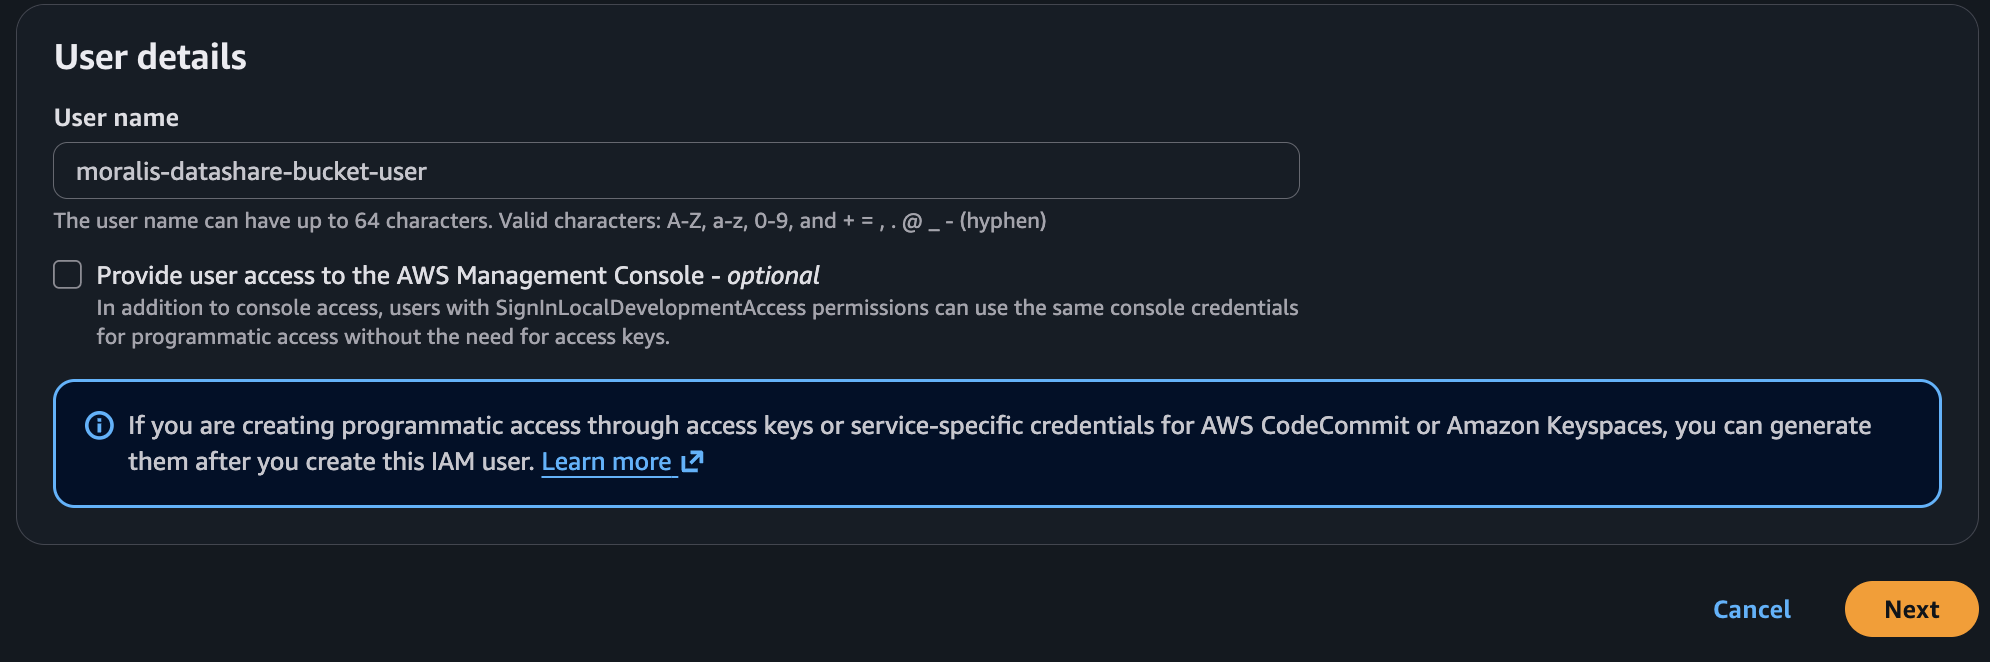
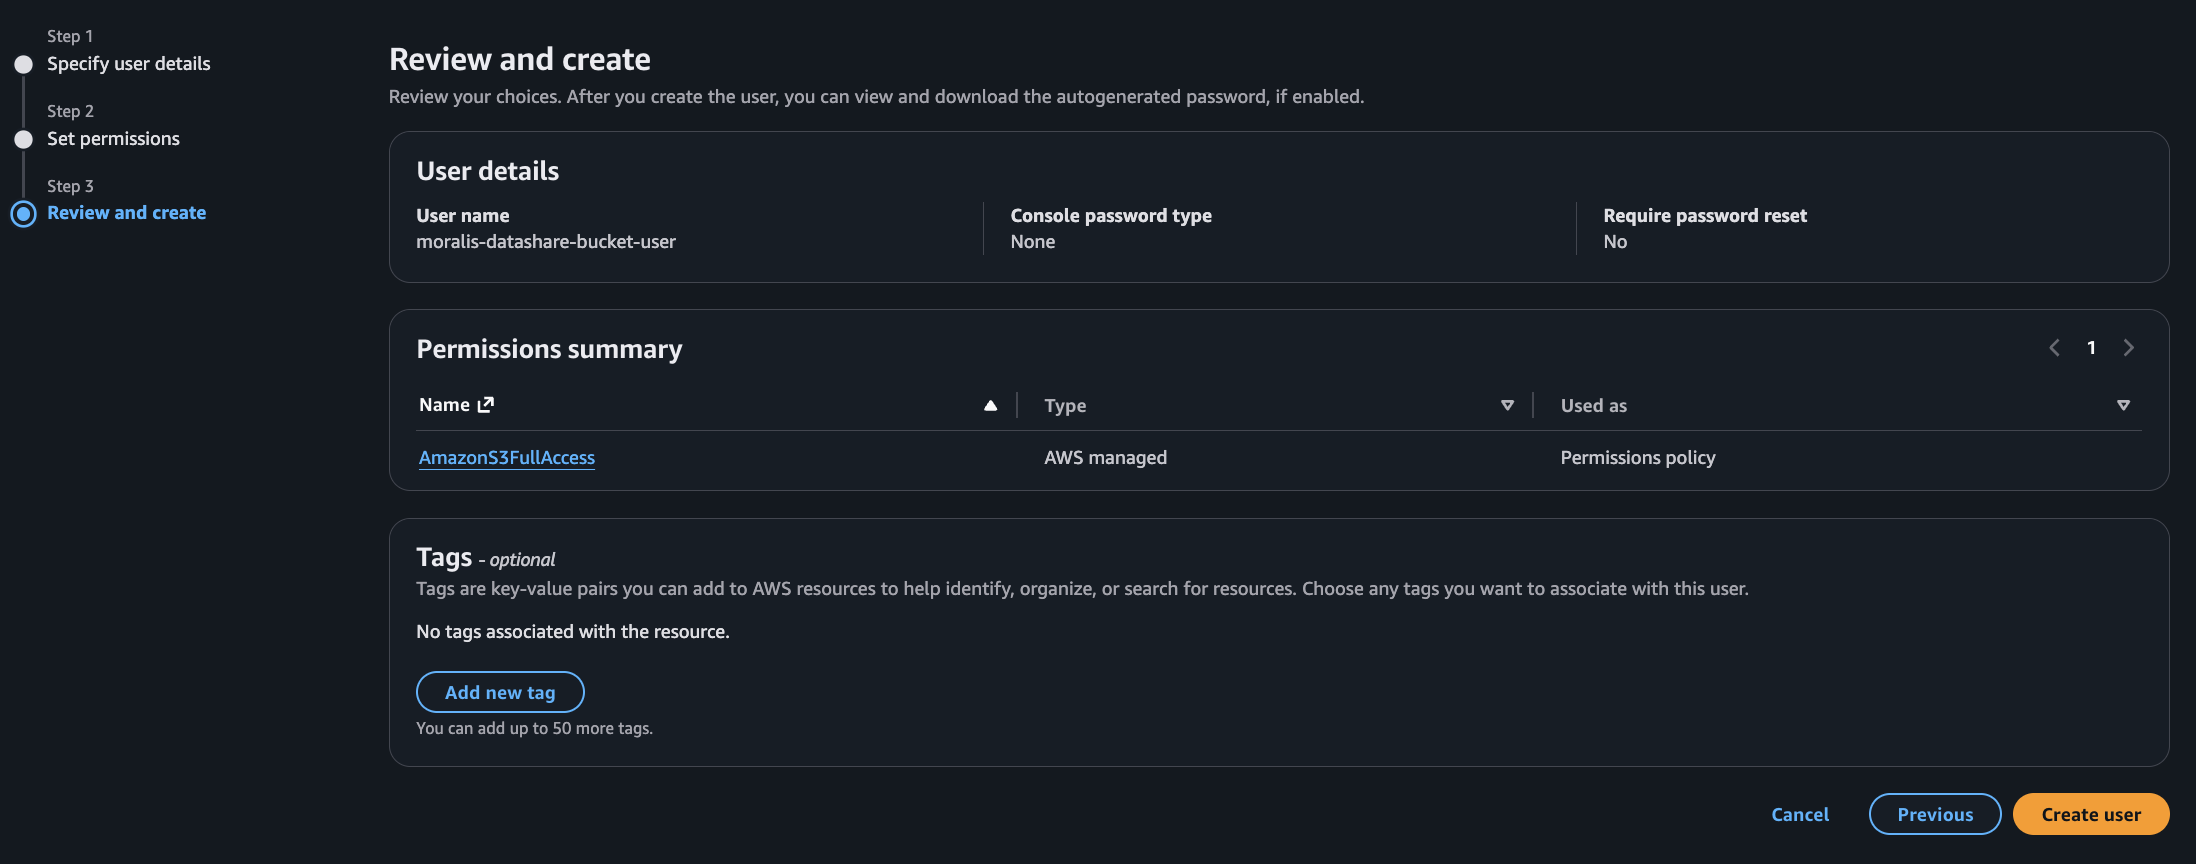
Set the user name, example = “moralis-datashare-bucket-user”
- Leave unchecked “Provide user access to the AWS Management Console”
-
Click Next
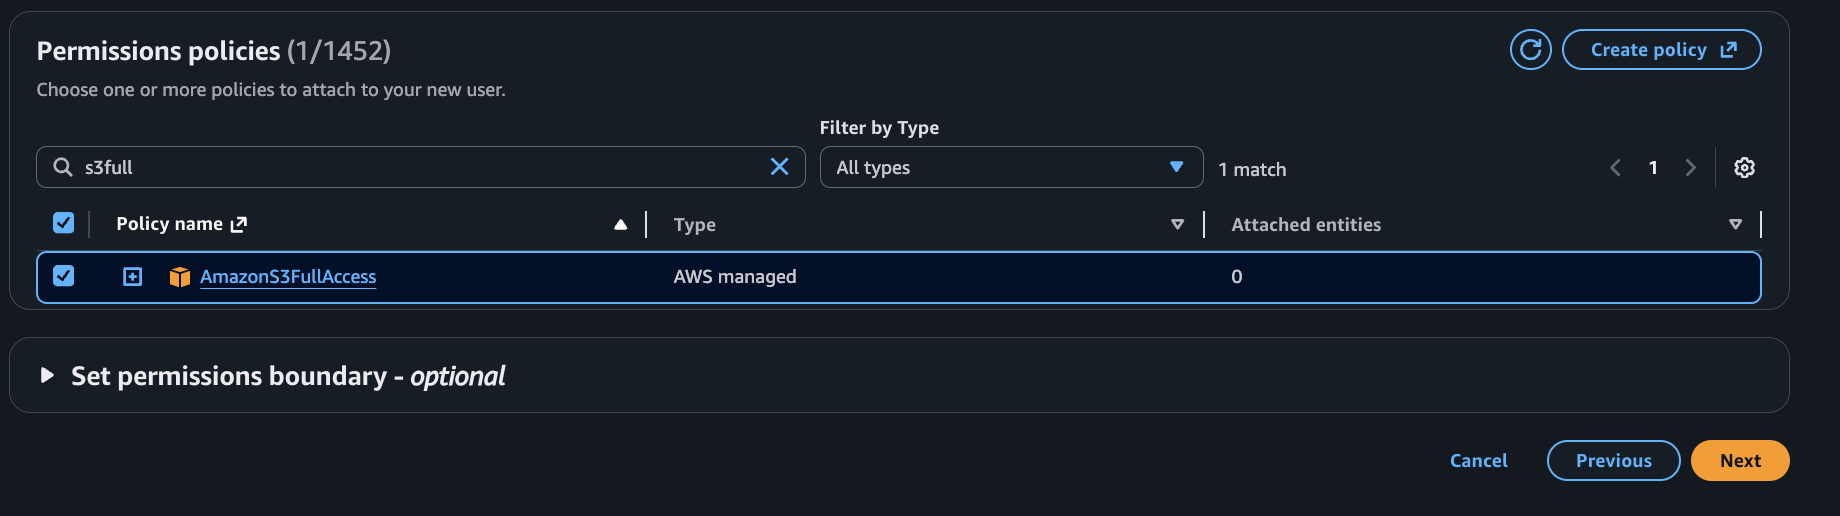
- Click “Attach policies directly”. This is the best approach for a single-purpose user.
-
In the Seachbar type “S3Full” and click Next.
-
Click “Create user”.

-
Next, you need to create Access Keys for this IAM user.
- Click on your username, example: “moralis-datashare-bucket-user” then go to the “Security credentials” tab.

-
Scroll down on this page, you’ll see an “Access keys” section with a “Create access key” button. Click that.

-
Select “Third-party service” — since Moralis Datashare is an external service that will write to your S3 bucket. Then click “Next”.
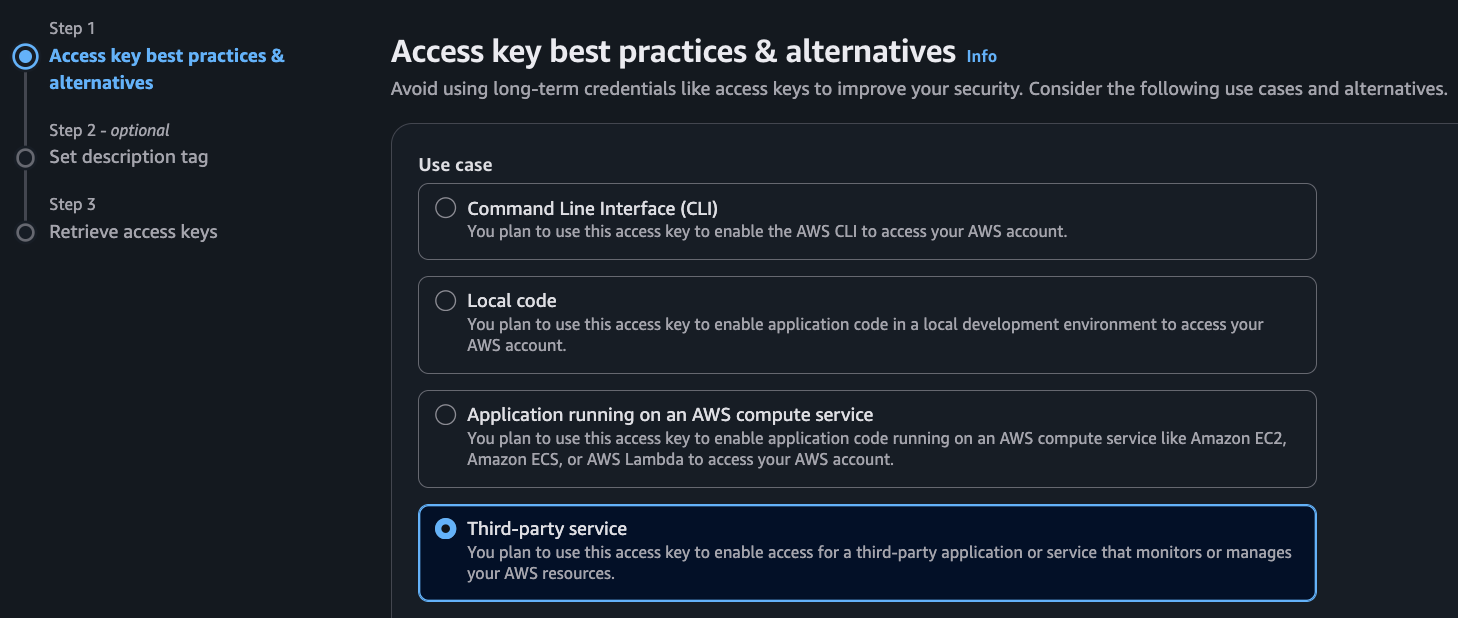
- Set description tab, example: “Moralis Datashare S3 export” then click Create access key.
-
You’re key has been created.

- Navigate to the Moralis Datashare Dashboard by clicking on the Create Export button. https://moralis.com/

-
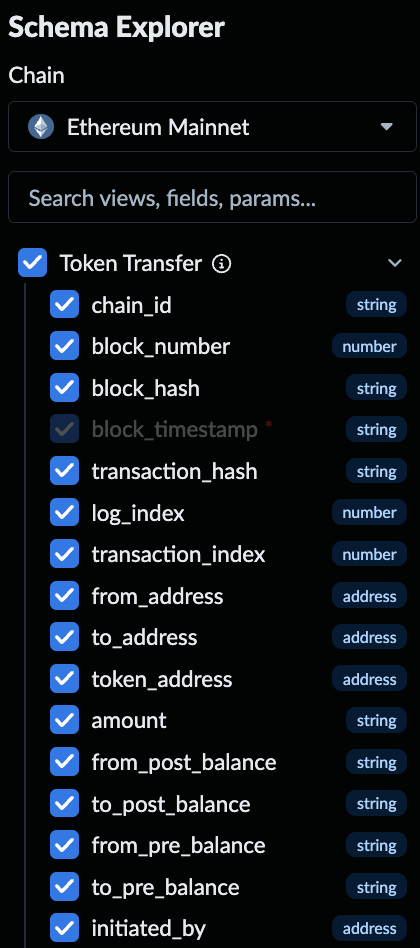
Select the chain and data types that you want to fetch bulk blockchain data for.
-
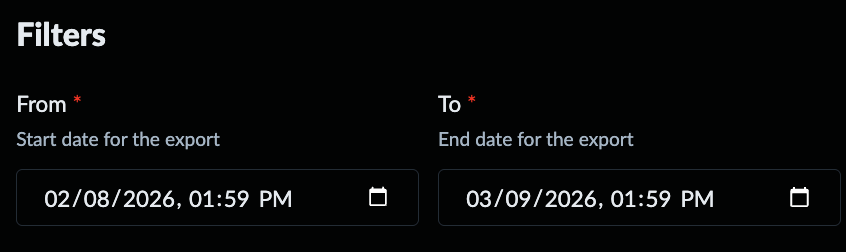
Set your date range
-
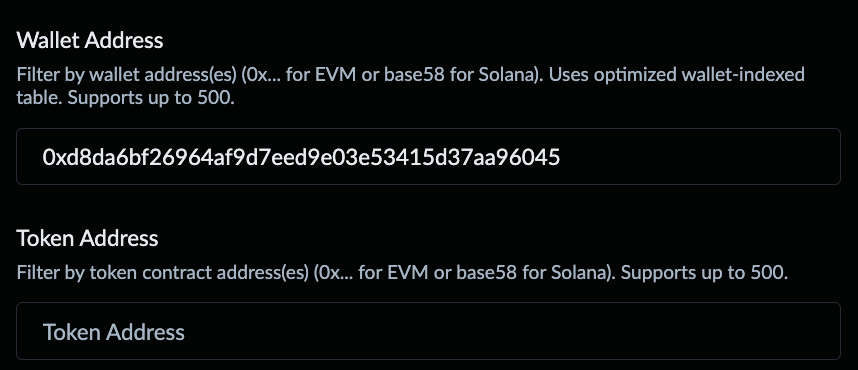
Add a Wallet or Token Address
-
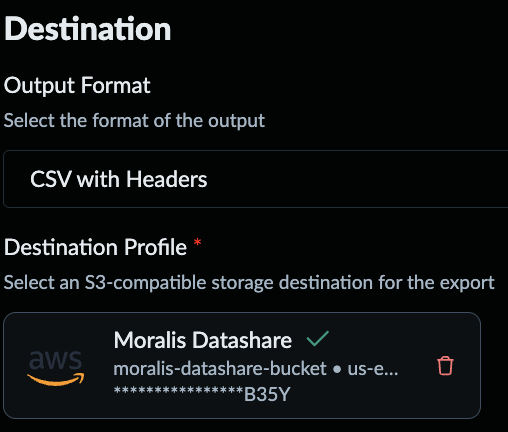
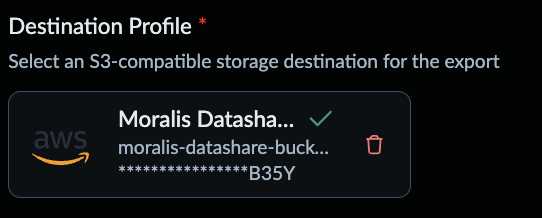
Set a Destination and Output format
-
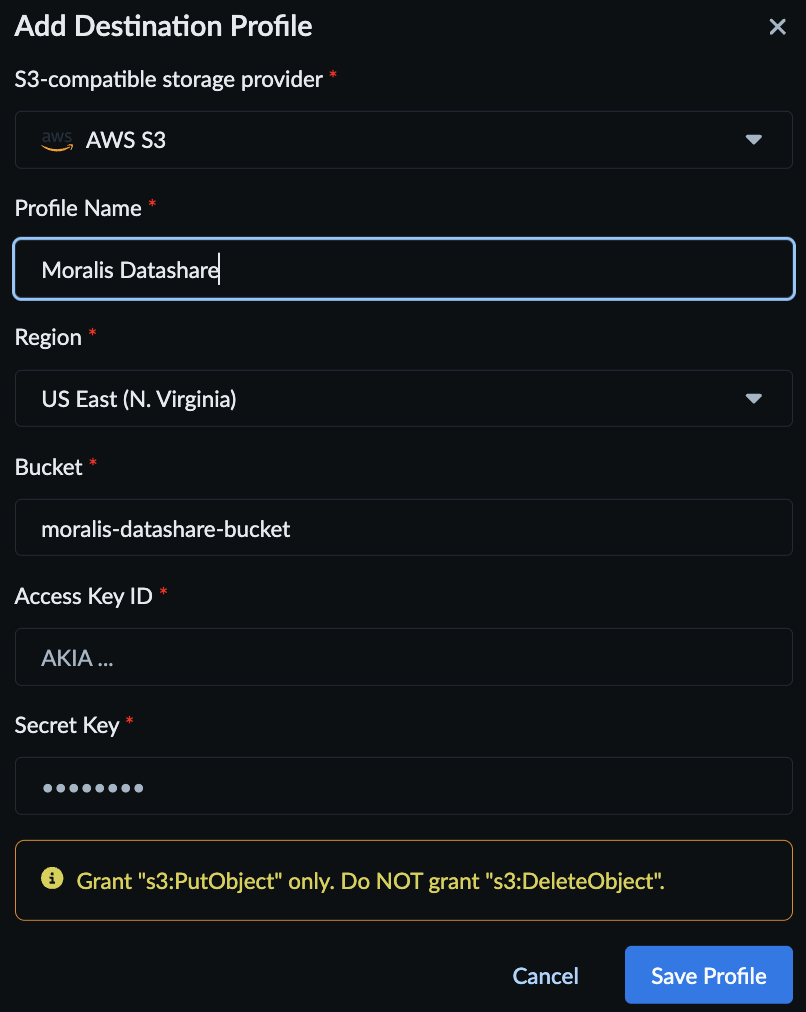
Add new S3 compadible storage destination for the export - input your S3 Keys here.

- Select Destination.
-
Click “Estimate” to view the required GB for your export.